A Tour of Inlets - A Tunnel Built for the Cloud
Inlets
Inlets is a lightweight tunneling tool. It’s not a SaaS product, it’s a self-hosted tunneling solution. That means you have total control over it. According to the documentation of Inlets PRO, there are various use cases:
- Exposing services from a private network
- Self-hosting HTTP endpoints with Let’s Encrypt integration (so you have HTTPS)
- Connecting local Kubernetes with public IP
- … etc.
inlets-pro is the main program where the magic happened. Basically it has two
modes: TCP and HTTP. Both the server side and the client side run with the same
program, but with different subcommands. Whatever you send over the tunnel
between the server and the client gets encrypted in transit through the
built-in TLS encryption. This is done automatically. A bonus feature is that you
do not have to expose your services on the Internet, so can use Inlets like a
VPN or SSH tunnel.
Architecture
As mentioned above, there must be two endpoints in a tunnel: one end is Inlets PRO server, the other end is Inlets PRO client. The node where Inlets PRO server runs is called exit-server. It means that all the responses coming from the other end of the tunnel will take the exit here. The Inlets PRO server exposes its control-plane (websocket) to other Inlets PRO clients, so that the clients can connect and establish the tunnel. You can put Inlets PRO clients on your private server or even on your local computer, then expose private servers with public endpoints through the tunnel. Then you can share the public endpoints with customers to let them access your private services without a hassle.
Installation
You can download inlets-pro binary from GitHub release
page directly, or you can try
the handy inletsctl tool:
$ curl -sLSf https://inletsctl.inlets.dev | sudo sh
$ inletsctl download --pro
$ inlets-pro version
 _       _      _            _
(_)_ __ | | ___| |_ ___   __| | _____   __
| | '_ \| |/ _ \ __/ __| / _` |/ _ \ \ / /
| | | | | |  __/ |_\__ \| (_| |  __/\ V /
|_|_| |_|_|\___|\__|___(_)__,_|\___| \_/

  PRO edition
Version: 0.8.9 - 7df6fc42cfc14dd56d93c32930262202967d234b
TCP Mode
One of my use case is to establish a secured tunnel between my homelab server and my office Windows desktop, so I can access office environment through Windows RDP from my Mac. All I have to do is opening up Microsoft Remote Desktop app, and connect to my homelab server on port 3389.

Since I prefer commands which will block the terminal to be in the background,
making inlets-pro tcp server a systemd service is the way to go. Be sure to
provide the public IP address to --auto-tls-san argument, so the tunnel server
can use it to generate the certificate. The token here is to ensure that no one
but only who knows the token can connect to the tunnel server. It will be used
on both server side and client side.
export TOKEN=$(head -c 16 /dev/urandom | shasum | cut -d '-' -f 1)
inlets-pro tcp server \
    --auto-tls \
    --auto-tls-san="174.138.21.44" \
    --token="$TOKEN" \
    --generate=systemd | sudo tee -a /etc/systemd/system/inlets-pro.service
sudo systemctl enable inlets-pro.service
sudo systemctl start inlets-pro.service
In order to make the tunnel client outside of my homelab be able to connect to
the tunnel server on control-plane (port 8123 for example), I have to setup a
port-forwarding rule on my router/firewall. So that anyone connect to
<public-ip>:8123 will reach <private-ip>:8123.
On the client side, run inlets-pro.exe tcp client along with a valid license
key, the aforementioned token, the URL of the tunnel server, and the ports that
you want to expose, i.e. port 3389 for Windows RDP service.
C:\Program Files\Inlets PRO>inlets-pro.exe tcp client --license="INLETS-PRO-LICENSE-KEY" --url="wss://174.138.21.44:8123" --token="fe6f868d72123701326e31d3179a07208cc5d80d" --ports=3389
2021/08/09 10:51:30 Starting TCP client. Version 0.8.8 - 57580545a321dc7549a26e8008999e12cb7161de
2021/08/09 10:51:31 Licensed to: <redacted> (Gumroad subscription)
2021/08/09 10:51:31 Upstream server: localhost, for ports: 3389
inlets-pro client. Copyright OpenFaaS Ltd 2021
time="2021/08/09 10:51:31" level=info msg="Connecting to proxy" url="wss://174.138.21.44:8123/connect"
time="2021/08/09 10:51:31" level=info msg="Connection established.. OK."
Now that the tunnel has been established. The tunnel server listens on port 3389
for any incoming RDP connection. I can connect to <private-ip>:3389 for my
office Windows desktop in home without exposing it to the entire world.
HTTP Mode
Here I will use “local file sharing via HTTP server” as an example.
- Local computer is the place (my M1 Mac mini) where the files we wanna share, resides in a private network
- Exit server is a machine with publicly accessible IP address, usually resides on the cloud
On the exit-server, start an Inlets PRO HTTP server. It will listens on port
8123 and 8000 by default as control port and data port respectively. One can
change the ports by providing --control-port and --port if there are port
conflicts.
$ inlets-pro http server \
    --auto-tls \
    --auto-tls-san="188.166.208.238" \
    --token="fe6f868d72123701326e31d3179a07208cc5d80d"
2021/08/17 16:08:45 Starting HTTP client. Version 0.8.9 - 7df6fc42cfc14dd56d93c32930262202967d234b
2021/08/17 16:08:45 Wrote: /tmp/certs/ca.crt
2021/08/17 16:08:45 Wrote: /tmp/certs/ca.key
2021/08/17 16:08:45 Wrote: /tmp/certs/server.crt
2021/08/17 16:08:45 Wrote: /tmp/certs/server.key
2021/08/17 16:08:45 TLS: 188.166.208.238, expires in: 2491.999991 days
2021/08/17 16:08:45 Data Plane Listening on 0.0.0.0:8000
2021/08/17 16:08:45 Control Plane Listening with TLS on 0.0.0.0:8123
On my local computer, setup an Inlets PRO HTTP fileserver (something similar
to python3 -m http.server but with more features such as directory browsing
toggle, basic authentication, etc.).
$ inlets-pro http fileserver \
    --webroot="$HOME/Projects" \
    --allow-browsing \
    --token="supersecret"
Starting inlets PRO fileserver. Version: 0.8.9-18-gf4fc15b - f4fc15b9604efd0b0ca3cc604c19c200ae6a1d7b
2021/08/17 16:11:13 Serving: /Users/starbops/Projects, on 127.0.0.1:8080, browsing: true, auth: true
Since the Inlets PRO HTTP fileserver binds to local interface, I’ll start the
Inlets PRO HTTP client on the same local computer and specify localhost
as upstream. So the client will establish the tunnel to the exit-server,
and forward related HTTP requests back to the fileserver running on my local
computer.
$ inlets-pro http client \
    --url="wss://188.166.208.238:8123" \
    --token="fe6f868d72123701326e31d3179a07208cc5d80d" \
    --upstream="localhost:8080"
Starting HTTP client. Version: 0.8.9-18-gf4fc15b - f4fc15b9604efd0b0ca3cc604c19c200ae6a1d7b
2021/08/17 16:10:59 Licensed to: <redacted> (Gumroad subscription)
2021/08/17 16:10:59 Upstream:  => http://localhost:8080
INFO[2021/08/17 16:10:59] Connecting to proxy                           url="wss://188.166.208.238:8123/connect"
INFO[2021/08/17 16:10:59] Connection established                        client_id=5482d06cafa4404786d92eb44a916903
By the way, thanks to @alex, I have the opportunity to test on the RC version of the Darwin ARM64 build. It works on my M1 Mac mini perfectly.
$ inlets-pro version
 _       _      _            _
(_)_ __ | | ___| |_ ___   __| | _____   __
| | '_ \| |/ _ \ __/ __| / _` |/ _ \ \ / /
| | | | | |  __/ |_\__ \| (_| |  __/\ V /
|_|_| |_|_|\___|\__|___(_)__,_|\___| \_/

  PRO edition
Version: 0.8.9-18-gf4fc15b - f4fc15b9604efd0b0ca3cc604c19c200ae6a1d7b
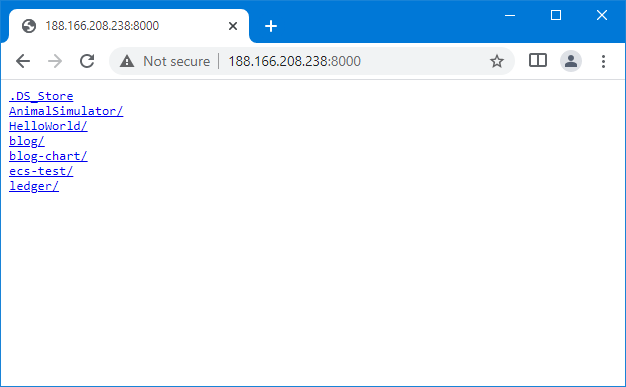
And we are all set. Open a browser then navigate to the address of the
exit-server with the designated port (data port specified by --port with
inlets-pro http server command). A familiar authentication dialog should pop
up. Sign in with the default username (which is admin) and the specified
password, the directory list will show up.

Inletsctl
As mentioned above, you can download the inlets-pro binary through
inletsctl:
inletsctl download --pro
While inlets-pro is dedicated to tunnel establishing, inletsctl provides a
bunch of additional features about cloud service provider integrations. With
inletsctl, one can easily provision an inlets-pro-ready cloud instance
(usually VM) as exit-server like a breeze. For example:
$ inletsctl create --provider digitalocean \
    --region sgp1 \
    --access-token-file do-access-token
Using provider: digitalocean
Requesting host: epic-feynman8 in sgp1, from digitalocean
2021/08/09 11:41:59 Provisioning host with DigitalOcean
Host: 258759207, status:
[1/500] Host: 258759207, status: new
[2/500] Host: 258759207, status: new
[3/500] Host: 258759207, status: new
[4/500] Host: 258759207, status: new
[5/500] Host: 258759207, status: new
[6/500] Host: 258759207, status: new
[7/500] Host: 258759207, status: new
[8/500] Host: 258759207, status: new
[9/500] Host: 258759207, status: new
[10/500] Host: 258759207, status: new
[11/500] Host: 258759207, status: new
[12/500] Host: 258759207, status: new
[13/500] Host: 258759207, status: new
[14/500] Host: 258759207, status: new
[15/500] Host: 258759207, status: new
[16/500] Host: 258759207, status: new
[17/500] Host: 258759207, status: active
inlets PRO TCP (0.8.6) server summary:
  IP: 159.89.204.81
  Auth-token: EJW4btMsNaC5CKIl9cZ6qGP3baMztheIvW8GtU1zifXkkxuBr3EwtmVI7hM1bmsK

Command:

# Obtain a license at https://inlets.dev
# Store it at $HOME/.inlets/LICENSE or use --help for more options
export LICENSE="$HOME/.inlets/LICENSE"

# Give a single value or comma-separated
export PORTS="8000"

# Where to route traffic from the inlets server
export UPSTREAM="localhost"

inlets-pro tcp client --url "wss://159.89.204.81:8123" \
  --token "EJW4btMsNaC5CKIl9cZ6qGP3baMztheIvW8GtU1zifXkkxuBr3EwtmVI7hM1bmsK" \
  --upstream $UPSTREAM \
  --ports $PORTS

To delete:
  inletsctl delete --provider digitalocean --id "258759207"
The IP address and the token is shown in the output after finishing the
deployment of cloud instance. Use the provided information in inlets-pro tcp
client command:
$ export UPSTREAM="nuclear.internal.zespre.com"
$ export PORTS="3000"
$ inlets-pro tcp client \
    --url="wss://159.89.204.81:8123" \
    --token="EJW4btMsNaC5CKIl9cZ6qGP3baMztheIvW8GtU1zifXkkxuBr3EwtmVI7hM1bmsK" \
    --upstream="$UPSTREAM" \
    --ports=$PORTS
2021/08/09 12:00:00 Starting TCP client. Version 0.8.8 - 57580545a321dc7549a26e8008999e12cb7161de
2021/08/09 12:00:00 Licensed to: <redacted> (Gumroad subscription)
2021/08/09 12:00:00 Upstream server: nuclear.internal.zespre.com, for ports: 3000
inlets-pro client. Copyright OpenFaaS Ltd 2021
INFO[2021/08/09 12:00:01] Connecting to proxy                           url="wss://159.89.204.81:8123/connect"
INFO[2021/08/09 12:00:01] Connection established.. OK.
Just remember to put a valid Inlets PRO license under $HOME/.inlets/LICENSE so
you don’t need to specify the license in the command line.
Delete the cloud instance if the tunnel is no longer needed, otherwise it’ll cost your money:
inletsctl delete --provider digitalocean \
    --access-token-file do-access-token \
    --ip 159.89.204.81
Inlets-operator
IMO Inlets-operator is the most brilliant part over all these cloud native tunneling use cases. As an operator of Inlets PRO in Kubernetes, it monitors on Service resources (especially on LoadBalancer type of Service) and manages Tunnel resource and exit servers. This is perfect for a private/local deployment of Kubernetes cluster. Think about exposing your application running on a Raspberry Pi powered K8s in your homelab, it could be a real pain in the ass. However, with Inlets-operator, things will be different! For more details, check out Ivan Velichko’s article about Kubernetes operator pattern and Inlets-operator.
Installation
Install CRDs and Helm charts of Inlets-operator. Here I choose DigitalOcean as my cloud service provider, you can choose whatever suits you best.
git clone https://github.com/inlets/inlets-operator.git
cd inlets-operator/
helm repo add inlets https://inlets.github.io/inlets-operator/
helm repo update
kubectl apply -f ./artifacts/crds/
kubectl create ns inlets-operator
helm upgrade inlets-operator --install inlets/inlets-operator \
    --set provider=digitalocean \
    --set region=sgp1 \
    --set inletsProLicense="$(cat $HOME/.inlets/LICENSE)" \
    --set annotatedOnly=true \
    --namespace inlets-operator
If there is any problem, check the logs generated in Inlets-operator Deployment:
kubectl -n inlets-operator logs deploy/inlets-operator -f
Deploying Example Application
Now the Inlets-operator is ready, let’s deploy an example application to see how it works. Spin up a Deployment with Nginx web server:
$ cat <<EOF | kubectl apply -f -
> apiVersion: apps/v1
> kind: Deployment
> metadata:
>   name: nginx-1
>   labels:
>     app: nginx
> spec:
>   replicas: 1
>   selector:
>     matchLabels:
>       app: nginx
>   template:
>     metadata:
>       labels:
>         app: nginx
>     spec:
>       containers:
>       - name: nginx
>         image: nginx:1.14.2
>         ports:
>         - containerPort: 80
> EOF
deployment.apps/nginx-1 created
Exposing Private Service
With Nginx running in a Pod, we still need to expose the port on which Nginx listens, so that users can access it. Here we use LoadBalancer type of Service which means Inlets-operator will provision a cloud instance with a public IP address as a load-balancer, then establish a secured tunnel between the cloud instance and the auxiliary Pod running alongside with Nginx Pod on the local K8s for us.
$ cat <<EOF | kubectl apply -f -
> apiVersion: v1
> kind: Service
> metadata:
>   name: nginx-1
>   annotations:
>     metallb.universe.tf/address-pool: "dummy"
>     dev.inlets.manage: "true"
> spec:
>   type: LoadBalancer
>   selector:
>     app: nginx
>   ports:
>   - name: http
>     protocol: TCP
>     port: 80
>     targetPort: 80
> EOF
service/nginx-1 created
It’s worth mentioning that since in my deployment of K8s, there is
MetalLB running as a bare-metal load-balancer,
which allocates IP addresses from a private network segment (192.168.xx.0/24)
to LoadBalancer Services. So I have to make MetalLB and Inlets-operator know
which LoadBalancer type of Service they should take care of. The solution by far
is to install Inlets-operator with annotatedOnly=true and add two annotations
in every LoadBalancer type of Service:
metallb.universe.tf/address-pool: "dummy": “dummy” can be replaced with any other terms which isn’t a valid address pool name in your MetalLB setup. This will make MetalLB ignore the request of load-balancer IP address.dev.inlets.manage: "true": Inlets-operator will only take action on Services with this annotated
Accessing from Outside
After the Service created, we can see that Inlets-operator is provisioning the tunnel for us. And the external IP address is still in the pending status because the cloud instance is spawning.
$ kubectl get svc,tunnel
NAME                 TYPE           CLUSTER-IP       EXTERNAL-IP   PORT(S)        AGE
service/nginx-1      LoadBalancer   10.97.233.179    <pending>     80:30555/TCP   6s

NAME                                      SERVICE   TUNNEL   HOSTSTATUS     HOSTIP   HOSTID
tunnel.inlets.inlets.dev/nginx-1-tunnel   nginx-1            provisioning            261289194
We can use -w option to watch the progress. Soon there is a public IP address
shown up.
$ kubectl get svc -w
NAME         TYPE           CLUSTER-IP       EXTERNAL-IP   PORT(S)        AGE
nginx-1      LoadBalancer   10.97.233.179    <pending>     80:30555/TCP   28s
nginx-1      LoadBalancer   10.97.233.179    178.128.221.76   80:30555/TCP   72s
nginx-1      LoadBalancer   10.97.233.179    178.128.221.76,178.128.221.76   80:30555/TCP   72s
nginx-1      LoadBalancer   10.97.233.179    178.128.221.76                  80:30555/TCP   72s
If you check out the Deployment and Pod lists you’ll notice that there is a new Pod created by Inlets-operator automatically. Actually it is the auxiliary Pod which runs Inlets PRO client! All the tedious works such as generating token, figuring out where the tunnel server and upstream are, are handled by Inlets-operator. It just works.
$ kubectl get deploy,po
NAME                                    READY   UP-TO-DATE   AVAILABLE   AGE
deployment.apps/nginx-1                 1/1     1            1           5m35s
deployment.apps/nginx-1-tunnel-client   1/1     1            1           2m26s

NAME                                        READY   STATUS    RESTARTS   AGE
pod/nginx-1-66b6c48dd5-dksx9                1/1     Running   0          5m35s
pod/nginx-1-tunnel-client-d9cd96c74-ks7vg   1/1     Running   3          2m25s
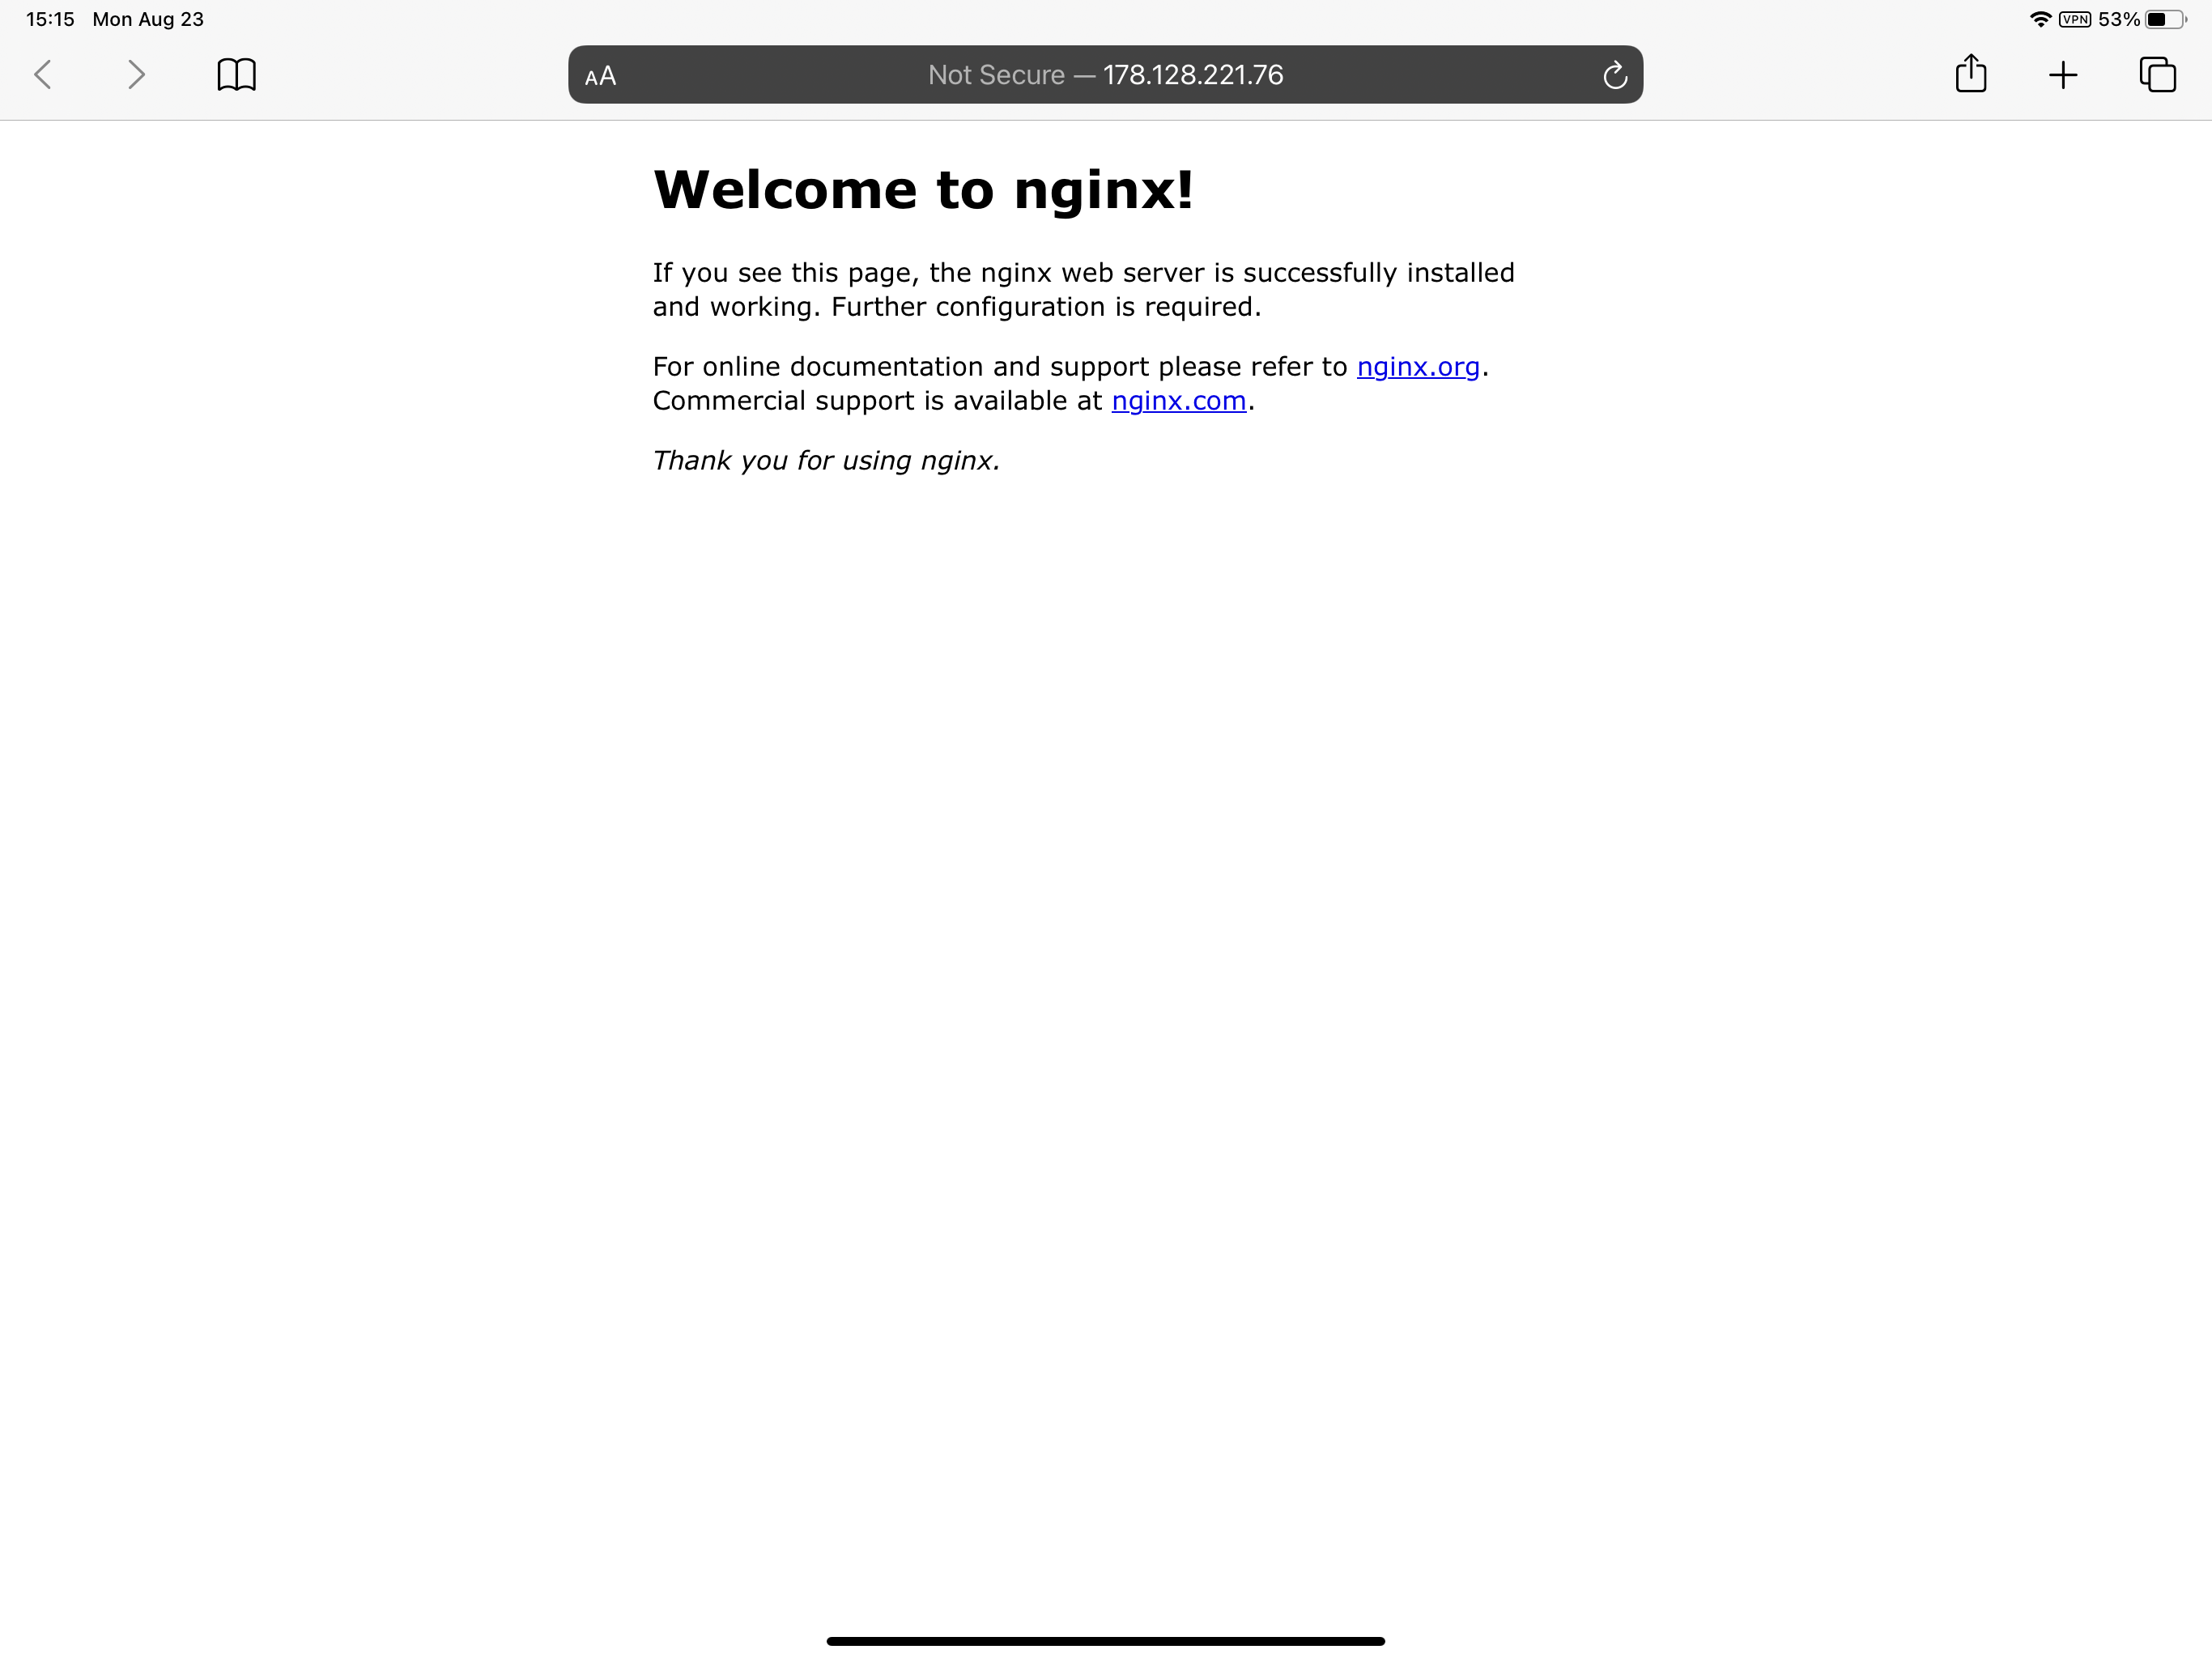
Now you can access the private Nginx with the above listed public IP address from anywhere (with Internet connection)!
Conclusion
Inlets PRO is a swiss army knife. There are various use cases listed in the documents. It can replace SSH tunneling with so much ease. Users can expose their private services efficiently like never before. It is also possible bringing remote services to local using Inlets PRO. Unlike SaaS tunneling solutions like Ngrok, you have total control over your infrastructure without traffic throttling. And the data flow through the tunnel is secured out of the box. If you have a local K8s deployment, definitely give it a try!